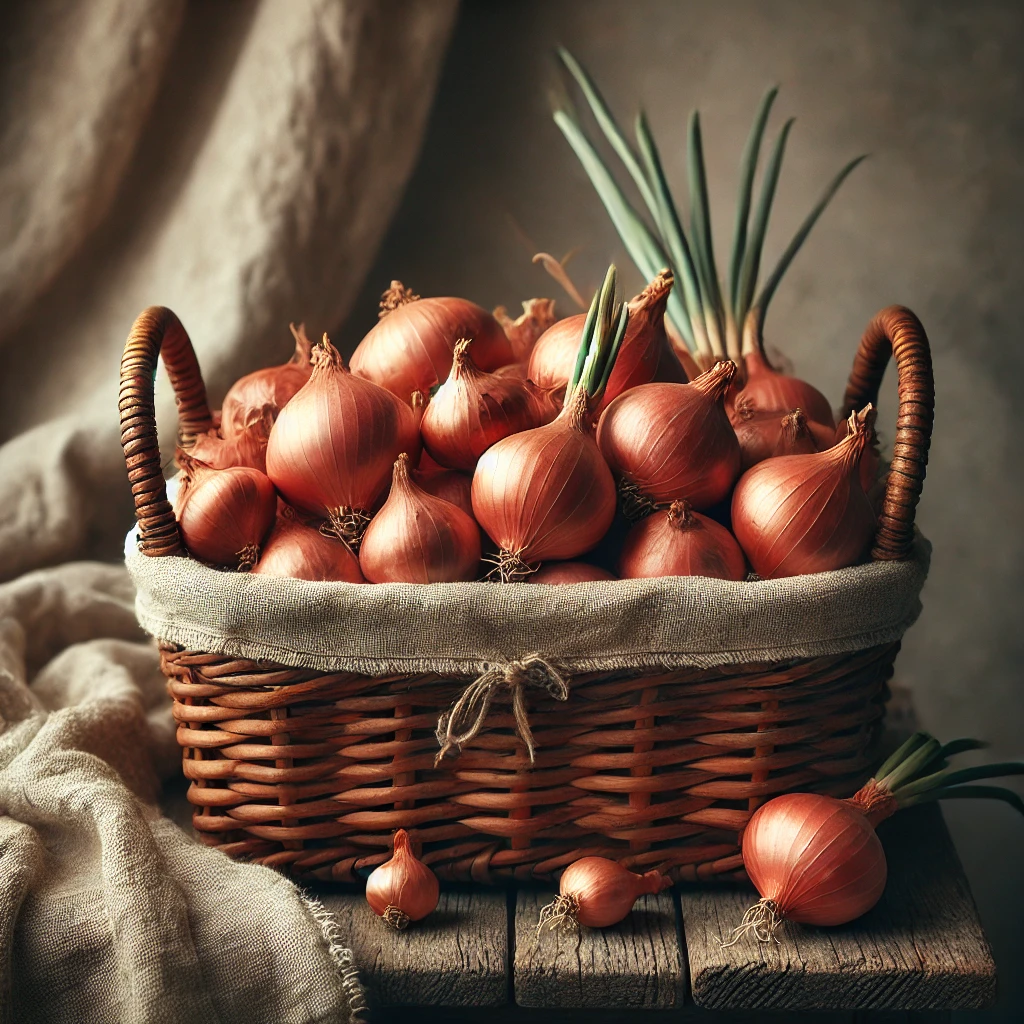
Shallots are a fantastic alternative to onions, offering a richer flavor, longer storage potential, and easier cultivation. Here’s everything you need to know to grow a successful crop of shallots.
Types of Shallots
Shallots come in two main varieties:
- Round Shallots – Compact and flavorful.
- Banana Shallots – Longer, torpedo-shaped bulbs that are a cross between shallots and onions, prized for their ease of peeling.
Each planted shallot bulb, or “set,” can multiply into 3–10 bulbs, making them an economical and self-sustaining choice for gardeners. Save a portion of your harvest for replanting to continue the cycle.
Preparing the Soil
Shallots thrive in well-drained, fertile soil with at least 5–6 hours of direct sunlight daily. To prepare:
- Spread a layer of well-rotted compost or manure to enrich the soil.
- Improve drainage by incorporating organic matter or using raised beds, especially in wetter climates.
If your soil tends to stay waterlogged during winter, consider deferring planting until spring or starting shallots in pots to prevent rot.

Planting Shallots
Spacing is critical for healthy growth:
- Direct planting: Place bulbs 6–10 inches apart with their tips just above the soil surface.
- Container planting: Use large pots with all-purpose potting mix. Insert bulbs, twist gently, and water thoroughly.
Shallots will establish roots during cooler months and sprout as temperatures rise.
Sowing Shallot Seeds
For areas where shallots struggle with day length, seeds are a reliable option. Sow seeds between late winter and early spring:
- Fill plug trays with sieved potting mix.
- Sow 5–6 seeds per cell, lightly cover, and water.
- Maintain temperatures above 50°F (10°C) for optimal germination.
Once seedlings are established, transplant them into the garden at standard spacings.
Care and Maintenance
Shallots are low-maintenance once planted:
- Watering: Keep soil moist, especially during dry spells.
- Weeding: Remove weeds carefully to avoid disturbing shallow roots.
- Feeding: In early spring, apply a nitrogen-rich fertilizer like pelleted chicken manure for robust growth.
- Mulching: Add a thin layer of grass clippings or compost to retain moisture and suppress weeds.
To prevent bolting (flowering), remove flower stalks promptly.
Harvesting Shallots
Harvest when leaves yellow and collapse, typically midsummer. Steps:
- Use a hand fork to gently lift bulbs on a dry day.
- Leave bulbs on the soil surface to dry briefly, then move them to a shaded, airy spot for two weeks.
Once cured, store shallots in net bags in a cool, dry place with good airflow. Properly stored shallots can last for months.
Culinary Uses
Shallots boast a unique, gourmet flavor perfect for dressings, sautés, and more. Experiment in your kitchen and share your favorite recipes in the comments!
With these tips, you can enjoy a rewarding harvest of flavorful, versatile shallots.
