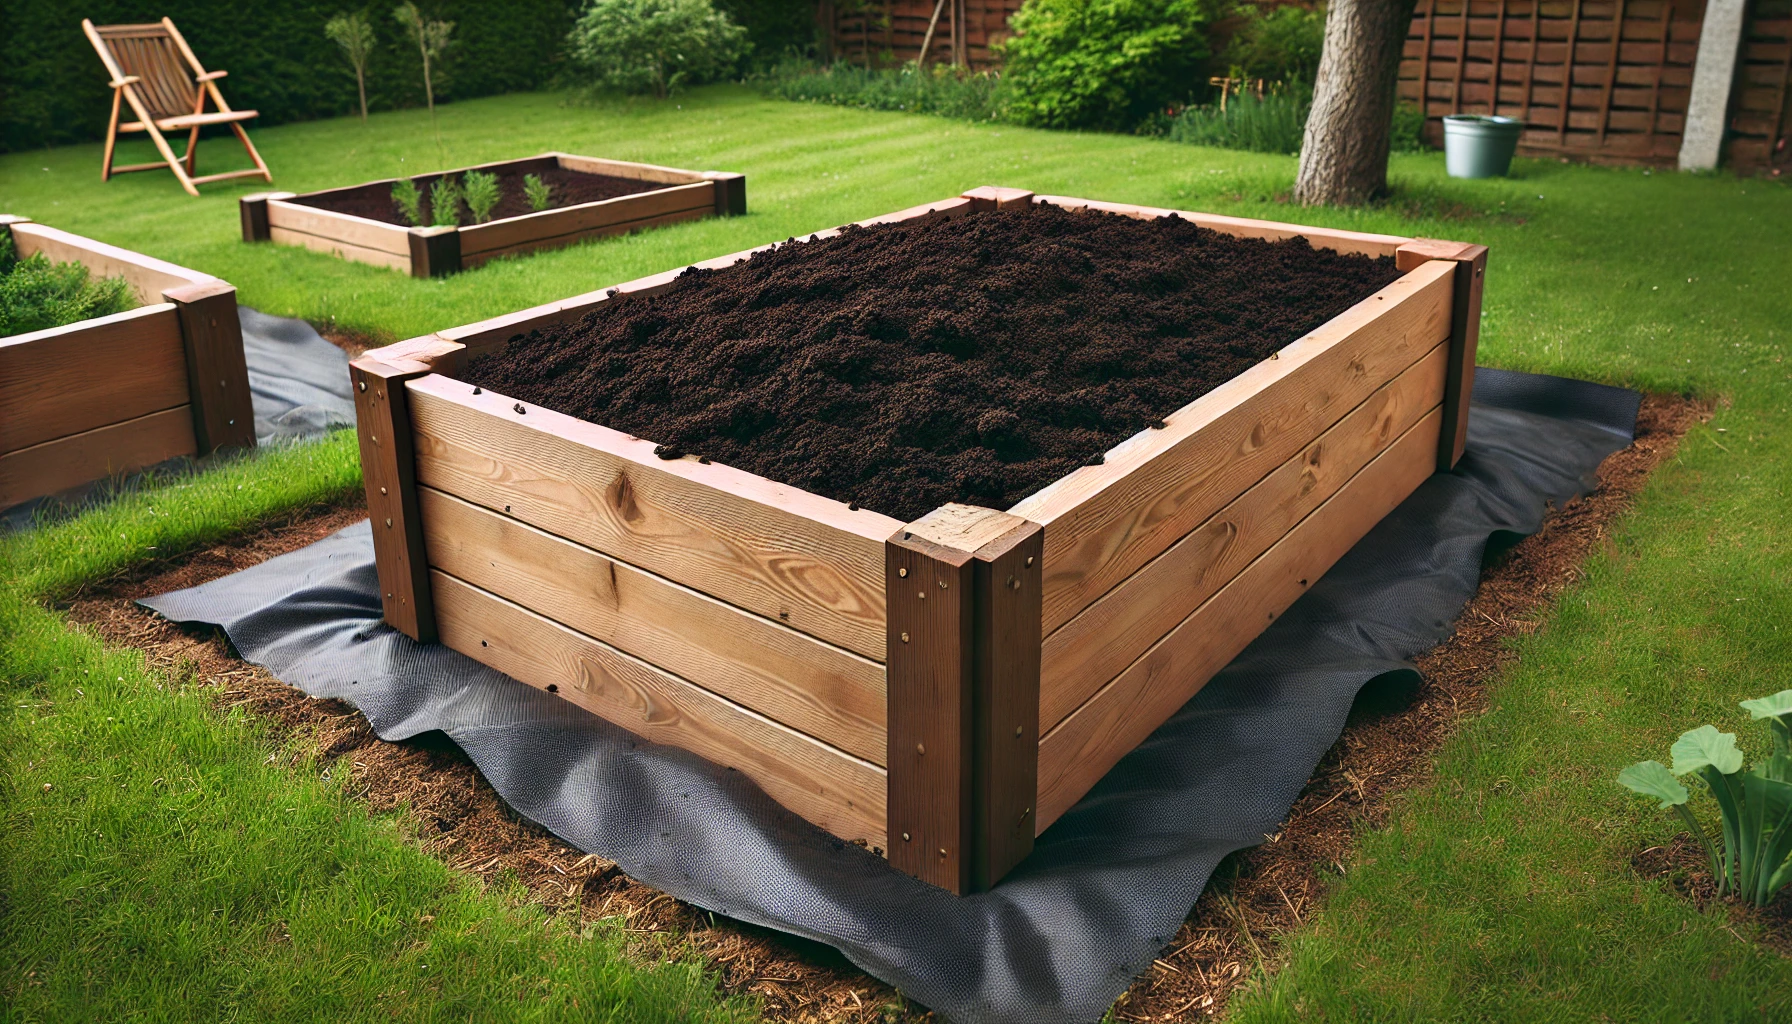
Creating a garden bed that retains nutrients and moisture is essential for thriving plants. By layering organic materials and enriching the soil, you can build a self-sustaining garden bed that supports healthy growth throughout the growing season. Follow this step-by-step guide to set up a nutrient-rich garden bed.
Step 1: Prepare the Garden Bed Area
- Select the Location: Choose a spot that receives ample sunlight and has good drainage.
- Dig the Area: Dig down 3-4 inches, or deeper if you plan to include larger logs or branches. This ensures stability and adequate moisture retention.
Step 2: Lay Down a Weed Barrier
- Use cardboard to cover the entire dug-out area.
- Overlap edges to prevent weeds from penetrating.
- The cardboard will decompose over time, adding organic matter to the soil.

Step 3: Add Natural Materials for Long-Term Nourishment
- Layer the bottom with twigs, branches, logs, and other organic debris.
- Include kitchen scraps like vegetable peels or plant waste.
- This base layer will slowly break down, releasing nutrients over time.
Step 4: Enrich the Base with Bone Meal
- Sprinkle bone meal over the organic materials to add phosphorus for root development.
- Use a light dusting to evenly cover the base layer.
Step 5: Add a Quality Soil Layer
- Spread a layer of loamy soil, known for its rich, crumbly texture and moisture retention.
- If your garden soil isn’t suitable, bring in high-quality topsoil and spread it evenly.
Step 6: Top with Compost or Manure
- Apply a thick layer of fully decomposed compost or manure.
- This layer provides immediate nutrients like nitrogen and potassium, essential for early plant growth.
Step 7: Enhance with Neem Cake and Bone Meal
- Sprinkle neem cake powder to enrich the soil and repel pests.
- Add another light layer of bone meal for additional nutrient support.
- These amendments ensure long-lasting fertility and pest resistance.
Step 8: Allow the Bed to Rest and Settle
- Let the bed rest for 6-8 weeks to allow the organic materials to break down and the soil to settle.
- Start in early winter to prepare the bed for spring planting.
- During this period, microorganisms will convert organic matter into plant-friendly nutrients.
Why This Method Works
This approach uses layering to create a nutrient-rich environment:
- Organic materials at the base release nutrients over time.
- Soil and compost layers provide immediate and long-term feeding.
- The resting period allows the bed to mature, ensuring a healthy foundation for plants.
Tips for Maintaining Your Garden Bed
- Watering: Keep the bed consistently moist, especially during the first few weeks after planting.
- Weed Control: Regularly remove any weeds that manage to sprout, even with the cardboard barrier.
- Replenish Nutrients: At the end of the growing season, add a fresh layer of compost or manure to refresh the soil.
By following these steps, you’ll create a garden bed that retains water, suppresses weeds, and provides long-lasting nutrients for your plants. This method ensures a productive and sustainable garden, even in challenging conditions. Happy gardening!
