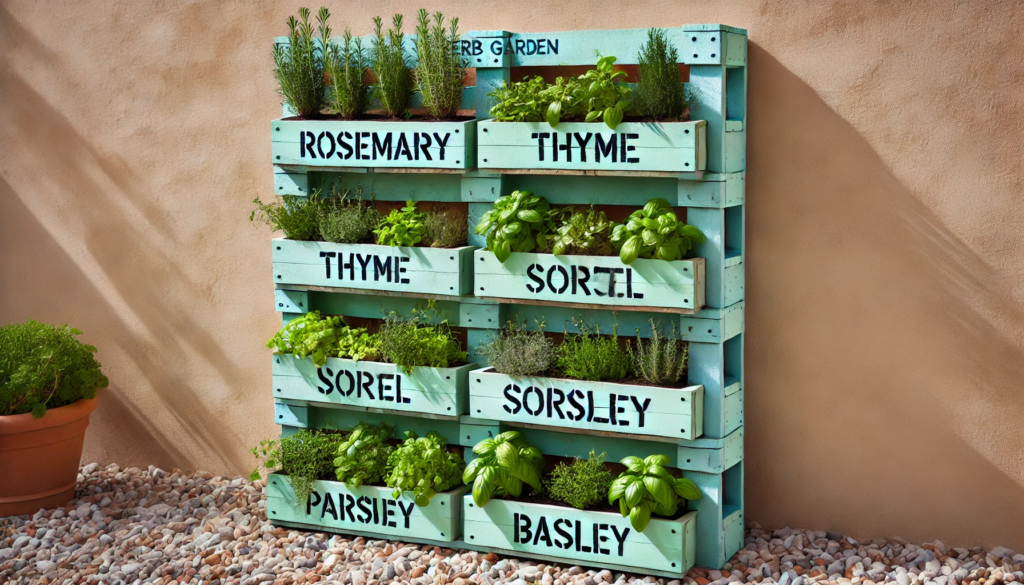
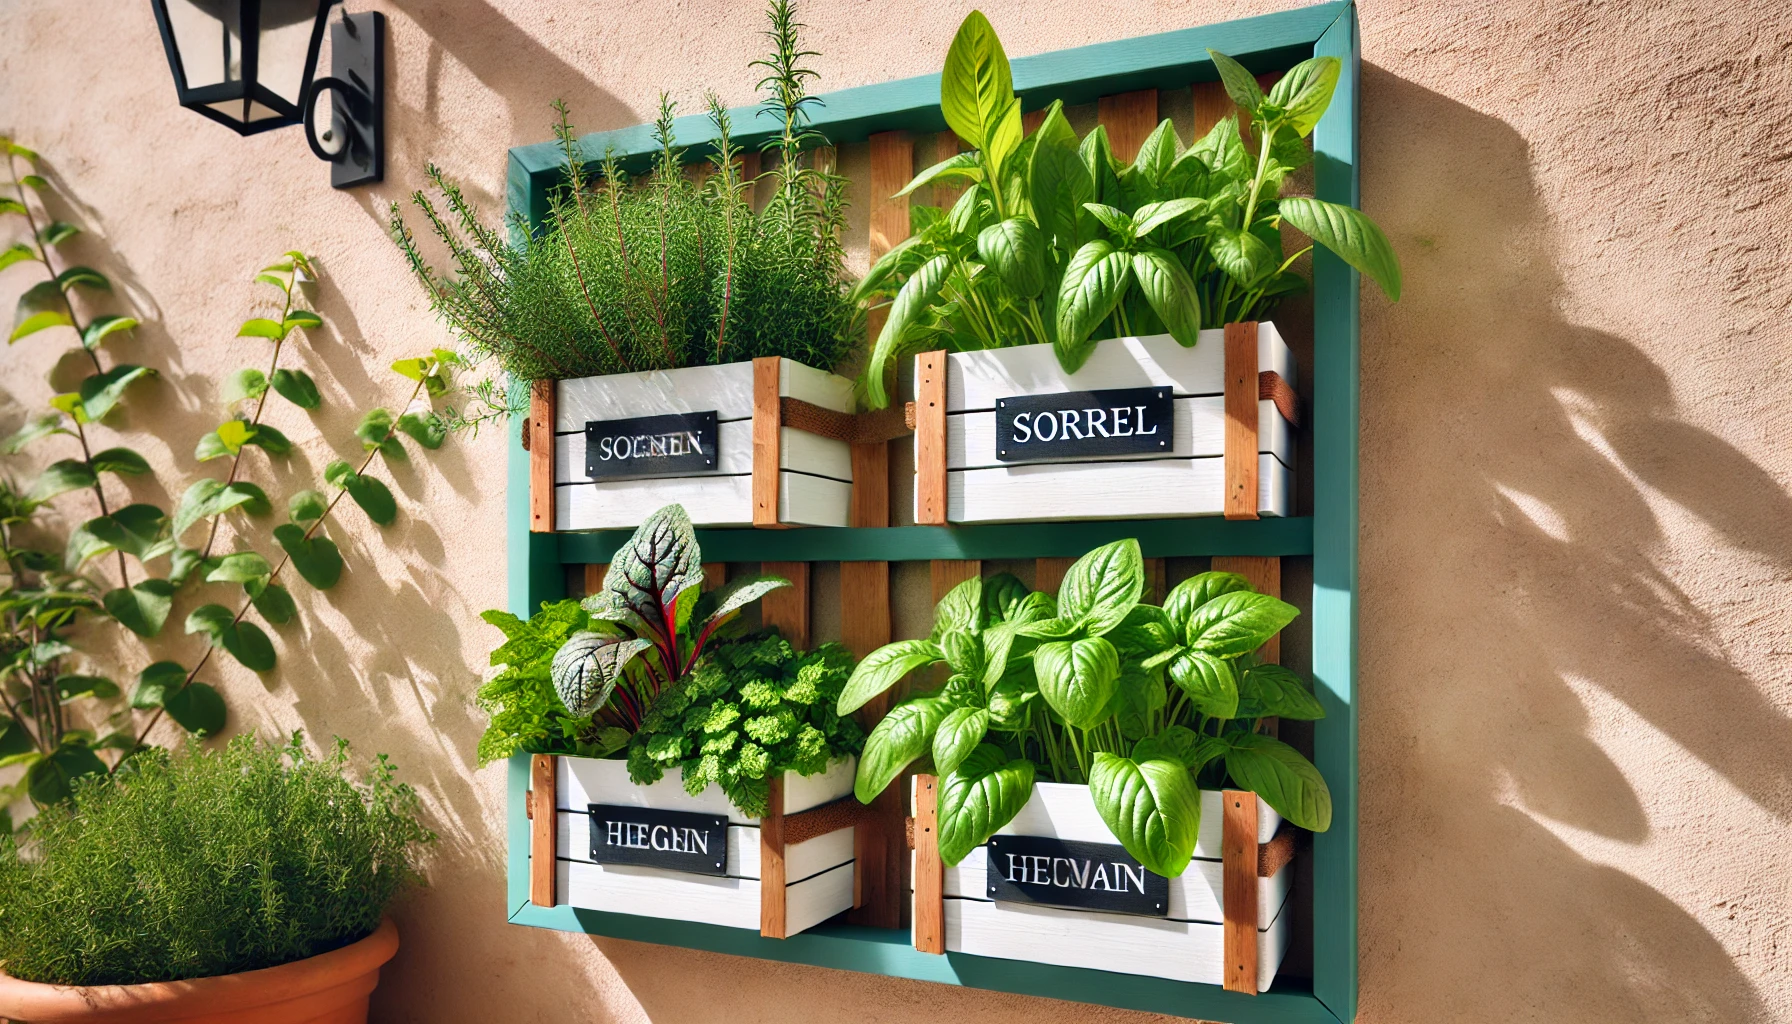
A vertical herb pallet planter is a fantastic way to grow fresh herbs in a small space. It’s budget-friendly and uses recycled materials, making it an eco-conscious choice. Follow this easy guide to create your own herb tower.
Materials Needed
- Heat-treated wooden pallet (check for the stamp “HT” to ensure it’s safe for edible plants)
- Hammer and nails or staple gun
- Non-toxic, weatherproof wood stain
- Chalkboard paint (optional)
- Landscape fabric (for planting pockets)
- Potting mix
- Herbs (parsley, mint, rosemary, thyme, etc.)
- Paintbrush and masking tape

Step 1: Prepare the Pallet
- Check the Pallet:
- Look for the IPPC or EPAL stamp on the pallet to confirm it’s heat-treated and safe for your herb garden. Avoid pallets with “MB” (methyl bromide-treated).
- Disassemble the Pallet (if necessary):
- To make each planting pocket deeper, remove some boards using a hammer. Simply give the boards a sharp blow at the back to loosen them.
- Reattach the removed boards to create planting pockets that are two boards deep instead of one.
- Paint the Pallet:
- Apply a non-toxic wood stain to the entire pallet, making sure to cover all edges and crevices. This will help protect the wood from the elements and improve its appearance.
Step 2: Add Chalkboard Labels (Optional)
- Label Panels:
- Use masking tape to define the shape of the chalkboard panels on the pallet.
- Apply chalkboard paint to the marked areas. You may need 2-3 coats for good opacity.
- Allow the paint to dry between coats, and remove the masking tape for clean edges.
Step 3: Create Planting Pockets
- Prepare the Landscape Fabric:
- Cut the landscape fabric so it fits the depth and width of each pocket with some overlap.
- Staple or nail the fabric into place, starting from the front and folding under the edges for a clean look. Secure the sides and back last.
- Make Sure It’s Secure:
- Ensure that the fabric is tightly in place to hold the potting mix, while allowing water to drain from the bottom.
Step 4: Plant Your Herb Garden
- Select Your Herbs:
- Choose herbs that thrive in similar growing conditions. For example:
- Leafy herbs (parsley, mint, cilantro) prefer moist, nutrient-rich potting mix.
- Mediterranean herbs (rosemary, thyme, sage) prefer a well-draining mix with added perlite or grit.
- Choose herbs that thrive in similar growing conditions. For example:
- Plant the Herbs:
- Fill each pocket with the appropriate potting mix.
- Plant herbs either from grocery store plants, garden center seedlings, or start from seeds and cuttings to save money.
- Plant herbs in the pockets that best suit their growing conditions.
Step 5: Care and Maintenance
- Water Regularly:
- Water your pallet planter as needed. Make sure water drains well, especially for the Mediterranean herbs.
- Replant as Needed:
- You can replace herbs when they start to outgrow their space or become leggy. The chalkboard labels are easy to update with new plant names.
- Harvest and Enjoy:
- Harvest herbs by snipping off outer leaves, which allows the plant to keep growing. Keep the planter in a sunny spot for the best aroma and growth.
Why Make a Herb Pallet Planter?
- Space-saving: Grows vertically, ideal for small spaces.
- Affordable: Made from repurposed pallets and inexpensive materials.
- Sustainable: Uses kitchen scraps or plants from seeds, reducing waste.
- Fresh Herbs: Have aromatic herbs on hand for cooking all year round.
This project is a fun and functional way to have fresh herbs right at your fingertips, with minimal effort and cost!
