Watering plants in hot weather can be time-consuming, but one ancient technique can save you both water and time. The method, known as “olla,” is an incredibly efficient and low-maintenance watering system that has been used for centuries. By incorporating ollas and other water-saving techniques into your garden, you can keep your plants hydrated with minimal effort.
Time-Saving Watering Tips
To efficiently water thirsty crops like squash, create a depression around the base or mound the soil up in a ring. This helps contain the water and prevents runoff, ensuring it reaches the roots. Similarly, when planting in rows, create a shallow trench using a hoe and plant your crops along the bottom. The trench will help retain moisture, reducing the need for frequent watering.
For seed sowing in dry weather, water twice into the seed drill before sowing. This guarantees that the seeds start in cool, moist conditions and reduces the need for additional watering while also preventing soil crusting that can hinder seedling growth.

When planting larger items like fruit bushes, dig a hole, fill it with water, allow it to drain, refill, and drain again before returning the soil. This ensures the rootball is surrounded by moisture, giving your plant a strong start.
For containers, use a saucer underneath the pot to capture water. Allow the plant to soak up as much as it needs, but don’t leave the plant in standing water for long to avoid root rot.
Ditch the Hosepipe
Using a watering can is often quicker than a hosepipe. It’s faster to refill and provides more control over the amount of water dispensed. You can double the speed by using two cans. During dry periods, you can even move a rain barrel closer to the vegetable garden, filling it with a hosepipe and using the cans to water plants more efficiently.
Ollas: Hands-Off Watering
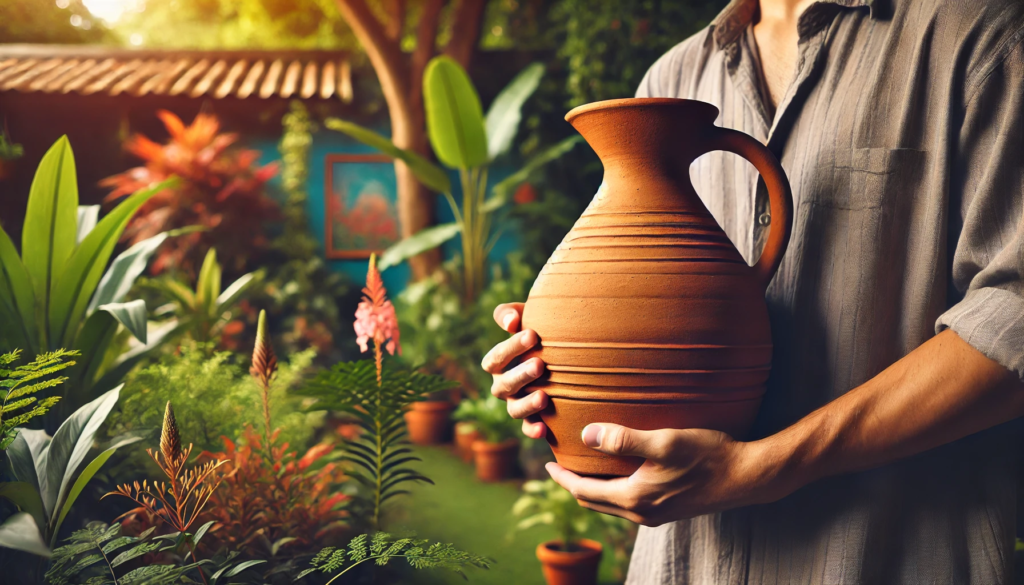
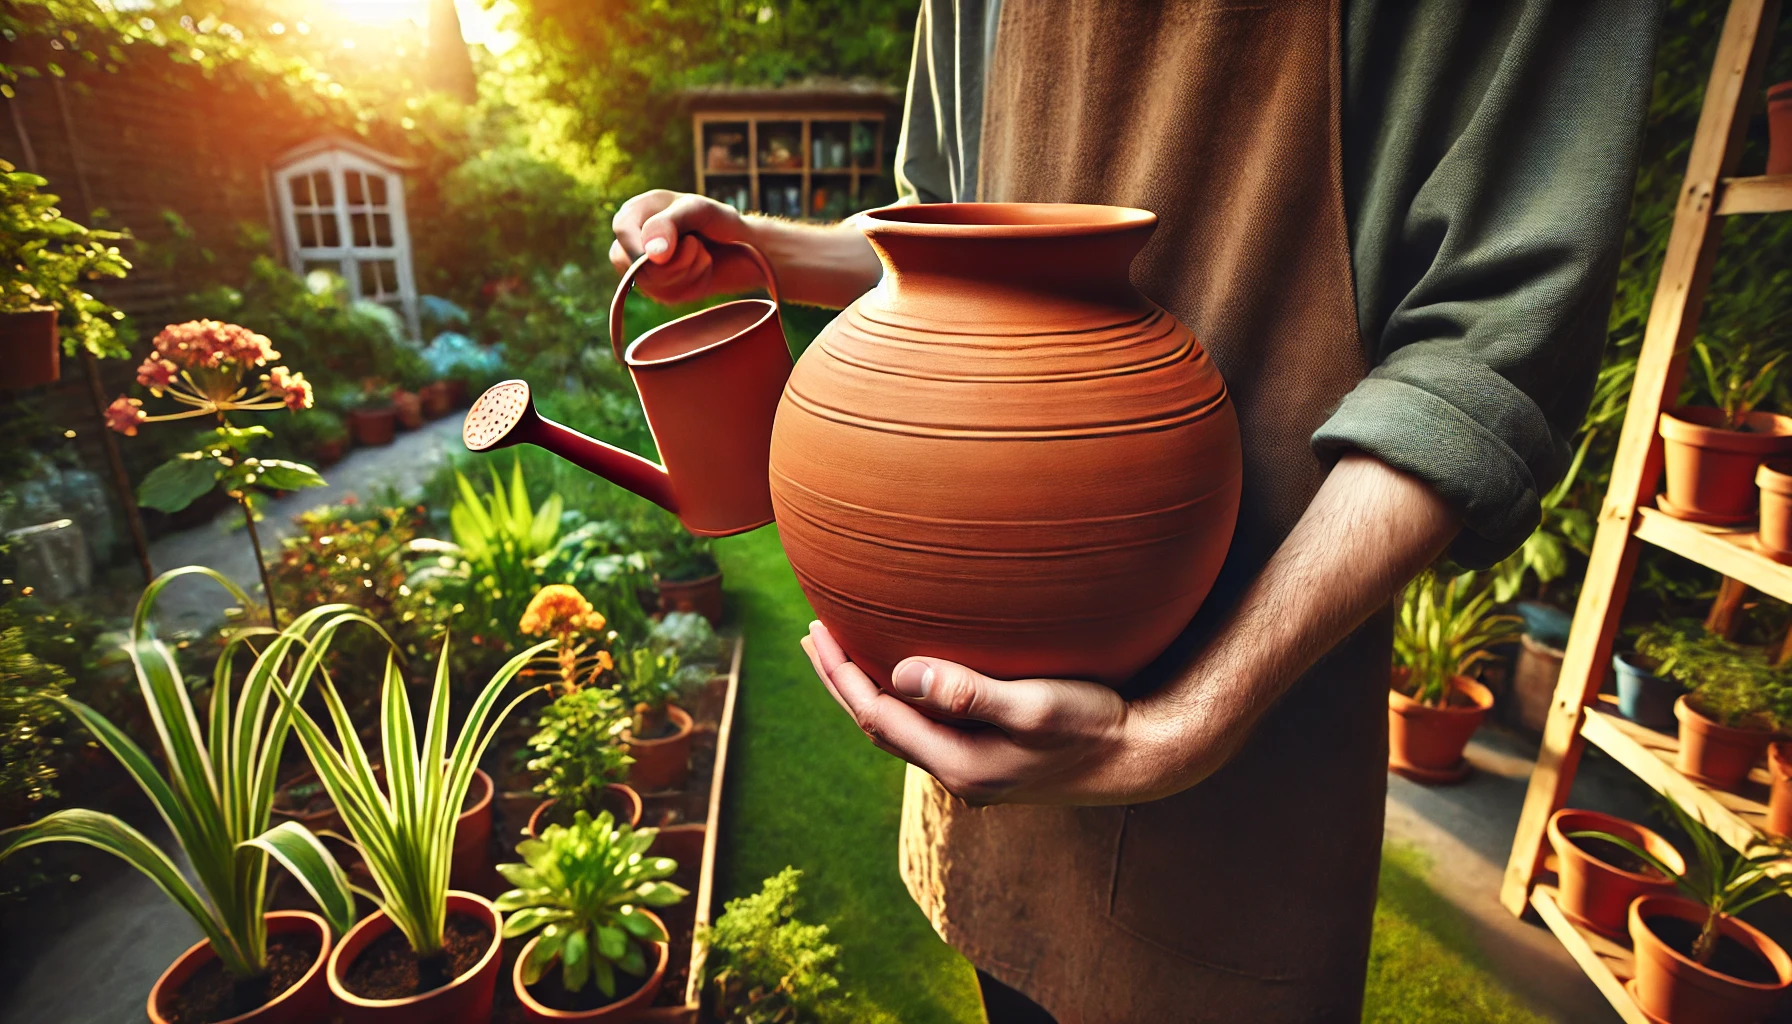
Ollas are ancient clay pots that passively water plants, saving up to 70% of water. They are buried in the soil with just the neck exposed. The unglazed terra cotta allows water to seep out, hydrating the soil around it. The moisture naturally moves from the olla to the dry soil due to soil moisture tension, ensuring your plants receive water when they need it.
Ollas work because they allow water to move in and out based on soil moisture. When the surrounding soil is dry, the water moves out; when the soil is wet, it stays in. This reduces evaporation and minimizes water waste.
DIY Olla
You can make your own olla using a terra cotta pot. Start by sealing the drainage hole at the bottom with waterproof putty, then bury the pot in the soil with just the top exposed. Fill it with water, cover it with a saucer to prevent evaporation, and let the moisture seep out into the surrounding soil. To ensure optimal use, check the water level regularly and refill as needed.
For larger gardens, you can combine two pots to create a double olla, holding more water and requiring fewer refills. Just be sure to seal the drainage hole and leave a small opening at the top for easy filling. These homemade ollas are inexpensive, easy to make, and incredibly effective.
Using Ollas
Place ollas around plants with deep or fibrous root systems, like tomatoes or squash. The moisture will spread out to a radius roughly equal to the diameter of the pot. For best results, plant at a distance of half the pot’s diameter from the olla. Regularly refill ollas to keep them at least half full, and use rainwater for the best results. Avoid putting fertilizers in ollas, as they can clog the pores of the clay.
If you experience freezing temperatures, remove your ollas before the first frost to prevent the clay from cracking. Allow them to dry out and store them for the next season.
Incorporating ollas into your garden will make watering easier, more efficient, and less time-consuming, while also conserving water and reducing your environmental footprint. It’s an ancient yet highly effective technique that brings big benefits to modern gardeners.
