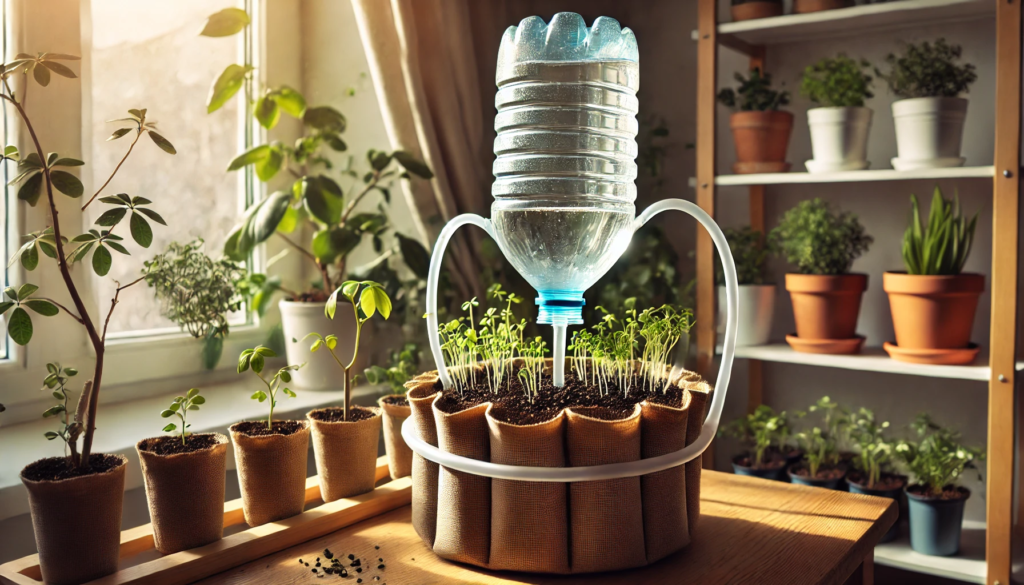
Gardening can be both fulfilling and cost-effective, especially when using creative methods to care for your plants. Here are two simple DIY solutions for watering plants, ensuring they stay hydrated for up to a month without the need for expensive tools or constant attention. These methods utilize common household items, making them eco-friendly and budget-friendly.
Method 1: Slow-Release Watering with a Buried Plastic Bottle
This method is perfect for outdoor plants and vegetable gardens, providing consistent moisture directly to the roots.

Materials Needed:
- A large plastic bottle (e.g., 2-liter soda bottle)
- Marker
- Sharp tool (awl, nail, or heated rod)
- Water
Step-by-Step Instructions:
- Prepare the Bottle:
- Clean the bottle and remove any labels.
- Mark two lines: one 15 cm (6 in) from the bottom and another 10 cm (4 in) from the neck.
- Create the Water Outlet:
- Use a sharp tool to make a small hole about 7 cm (2.5 in) from the bottom of the bottle.
- Fill the Bottle:
- Fill the bottle with water up to the lower marked line and screw the cap tightly.
- Bury the Bottle:
- Dig a hole near the plant, bury the bottle up to the lower marked line, and ensure the hole faces the plant.
- Final Step:
- Fill the bottle completely with water, close the cap, and cover the buried part with soil, leaving the neck exposed.
Advantages:
- Water Efficiency: Delivers water directly to the root zone, minimizing waste.
- Reduced Maintenance: Cuts down on frequent watering.
- Versatility: Ideal for vegetable gardens, shrubs, and other outdoor plants.
Method 2: Wicking System Using a Plastic Bottle and Fabric/String
This method is excellent for both indoor and outdoor potted plants, ensuring steady water supply with minimal effort.
Materials Needed:
- A plastic bottle
- Cotton fabric or thick cotton string
- Water
- Sharp tool (to make a hole)
Step-by-Step Instructions:
- Prepare the Bottle:
- Clean the bottle and make a small hole in the cap.
- Thread the Fabric/String:
- Cut a piece of cotton fabric or string.
- Thread it through the hole in the cap, leaving enough length to reach deep into the soil.
- Fill and Seal:
- Fill the bottle with water.
- Replace the cap with the fabric/string attached, ensuring the material is saturated.
- Position the Bottle:
- Place the bottle cap-side down in the soil near the plant.
- Ensure the fabric/string extends into the soil to deliver water directly to the roots.
Advantages:
- Consistent Moisture: Keeps soil moist without overwatering.
- Low Maintenance: Easy to monitor and refill as needed.
- Adaptability: Suitable for small indoor plants and outdoor containers.
Benefits of These Methods
- Cost-Effective: Both methods utilize recycled materials, saving money.
- Eco-Friendly: Reduces plastic waste and promotes sustainable gardening practices.
- Time-Saving: Requires minimal upkeep, making it perfect for vacations or busy schedules.
- Water Conservation: Delivers water efficiently, minimizing waste.
These two DIY watering solutions are simple, sustainable, and highly effective. Whether you’re tending to a vegetable garden, potted plants, or a mix of both, these methods ensure your plants remain healthy and hydrated. By adopting these eco-friendly practices, you’ll not only save resources but also contribute positively to environmental conservation.
Try these techniques today to enjoy a lush, thriving garden with minimal cost and effort!
