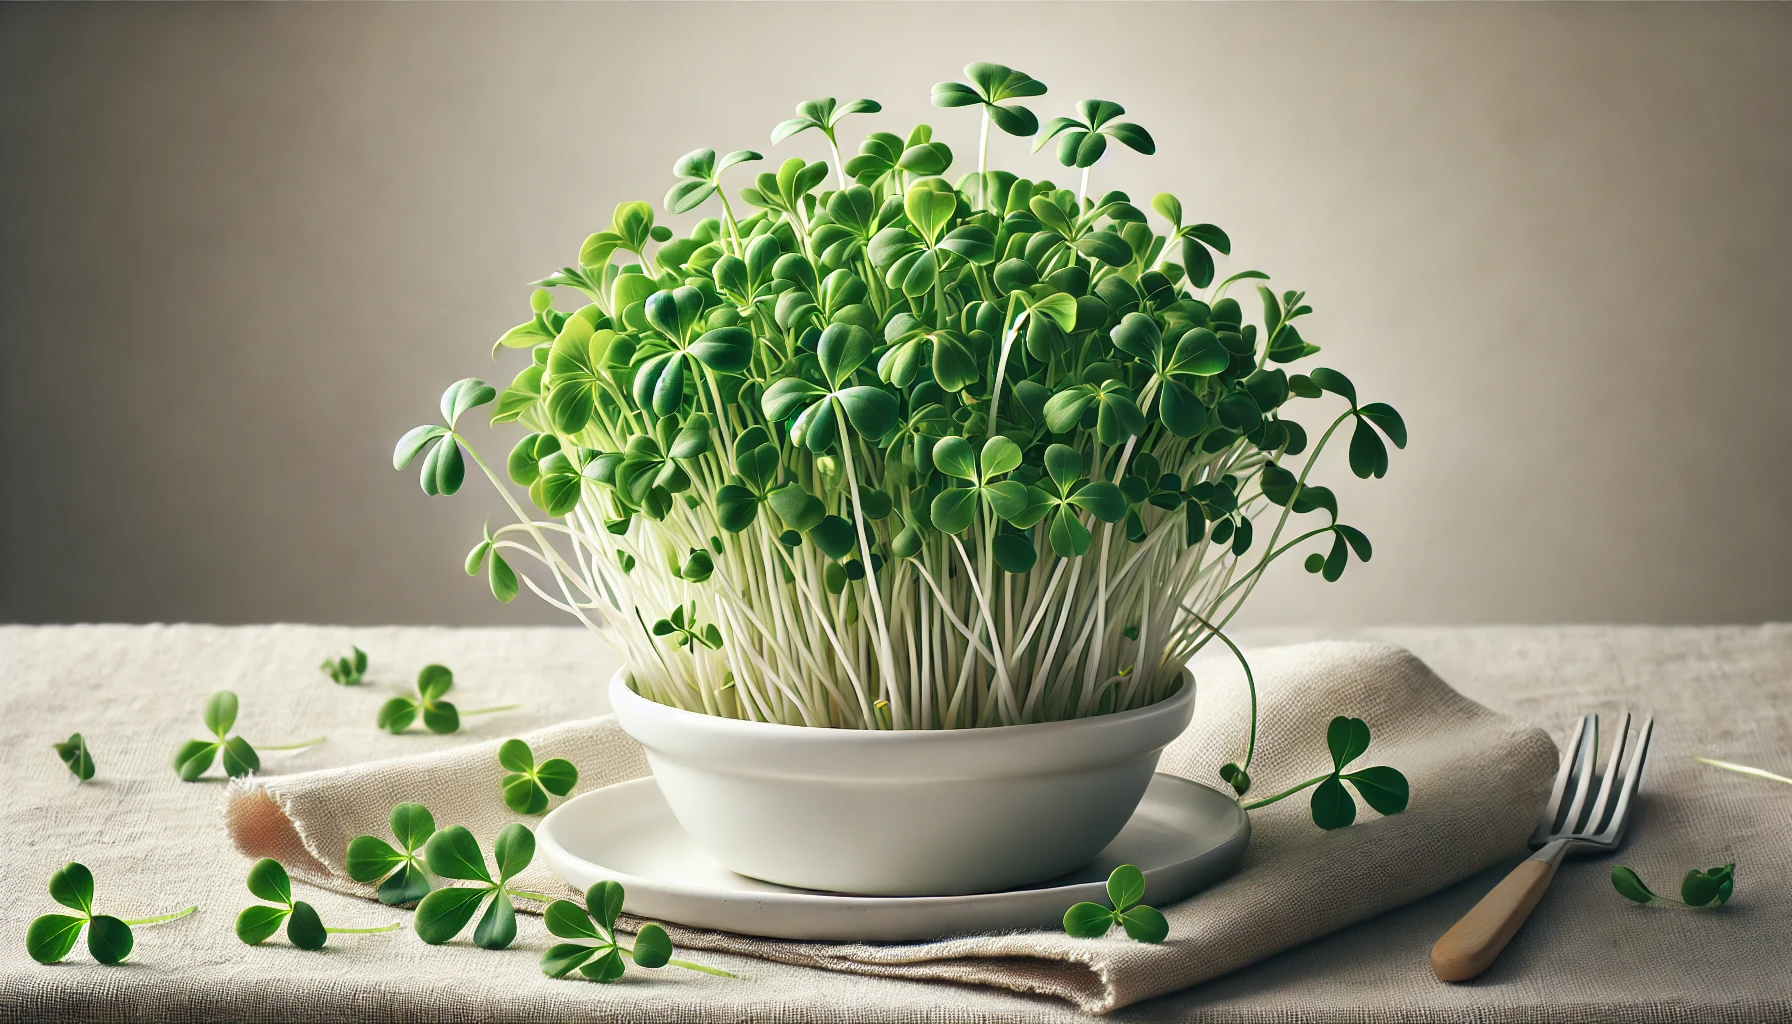
Alfalfa sprouts are a versatile, nutrient-rich addition to salads, sandwiches, and soups. With their nutty flavor and crunchy texture, they can be grown at home in under a week, providing a cost-effective and fresh alternative to store-bought options. Here’s a complete guide to growing alfalfa sprouts safely and efficiently.
What Are Alfalfa Sprouts?
Alfalfa (Medicago sativa) is a hardy perennial legume widely cultivated as a forage crop. While alfalfa hay is prized for its high protein content for livestock, sprouted alfalfa seeds are a nutritional powerhouse for humans. These sprouts are rich in Vitamin K, fiber, and other essential nutrients.
Are Alfalfa Sprouts Safe to Eat?
In the past, alfalfa sprouts have been linked to outbreaks of foodborne illnesses such as salmonella and E. coli, often due to contaminated seeds. However, when grown properly from certified organic seeds in cool conditions (below 75°F or 24°C), they are safe and healthy.

Safety Tips:
- Use certified organic seeds, as these are tested for pathogens and grown in controlled environments.
- If desired, sanitize seeds before sprouting by soaking them in a 3% hydrogen peroxide solution for five minutes and rinsing thoroughly.
- Maintain a cool growing environment to inhibit microbial growth.
Step-by-Step Guide to Growing Alfalfa Sprouts
Supplies Needed:
- 1 tablespoon of alfalfa seeds
- A clean glass jar
- Lightweight cloth or sprouting lid
- Rubber band (if using cloth)
Day 1: Preparation
- Place a tablespoon of seeds in a metal strainer and gently rub them to remove debris and enhance water absorption.
- Optional: Soak seeds in a bowl of lukewarm hydrogen peroxide solution for five minutes to sanitize, then rinse with cool water.
- Transfer seeds to a glass jar and cover with cool water. Let soak for several hours or overnight.
Days 2–3: Rinsing and Draining
- Drain the soaking water and rinse the seeds with fresh, cool water.
- Swirl the sprouts gently and drain thoroughly.
- Repeat this process twice daily, keeping the jar out of direct sunlight to maintain a cool temperature.
Days 4–5: Monitoring Growth
- Continue rinsing and draining twice daily. If the sprouts form clumps, separate them by soaking in cold water and teasing apart with a fork.
- Divide larger batches into multiple jars to allow adequate space for growth.
Days 5–6: Harvesting
- By day 5 or 6, the sprouts will double in size and develop their signature crunchy texture.
- Rinse them one final time, drain well, and store in the refrigerator. Chilling enhances their crispness and extends shelf life to about a week.
- Discard sprouts with brown tips to maintain quality.
Benefits of Growing Your Own Alfalfa Sprouts
Growing alfalfa sprouts at home is cost-effective, as a small package of seeds can yield multiple batches. It’s also an eco-friendly and satisfying way to enjoy fresh, organic produce during winter months.
Switching It Up: Mung Bean Sprouts
Once you’ve mastered alfalfa sprouts, consider growing mung beans. These sprouts are equally nutritious and bring variety to your meals, making them a valuable addition to your sprouting repertoire.
Final Tips
Keep your sprouting jars busy throughout the season, alternating between alfalfa and mung beans. With minimal effort, you can enjoy fresh, crunchy sprouts all winter long. Happy sprouting!
