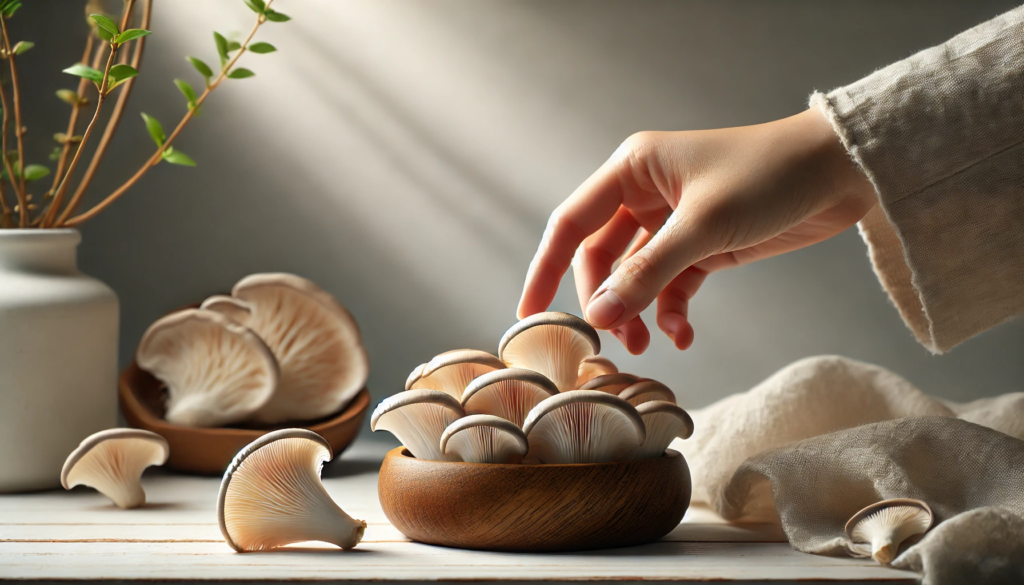
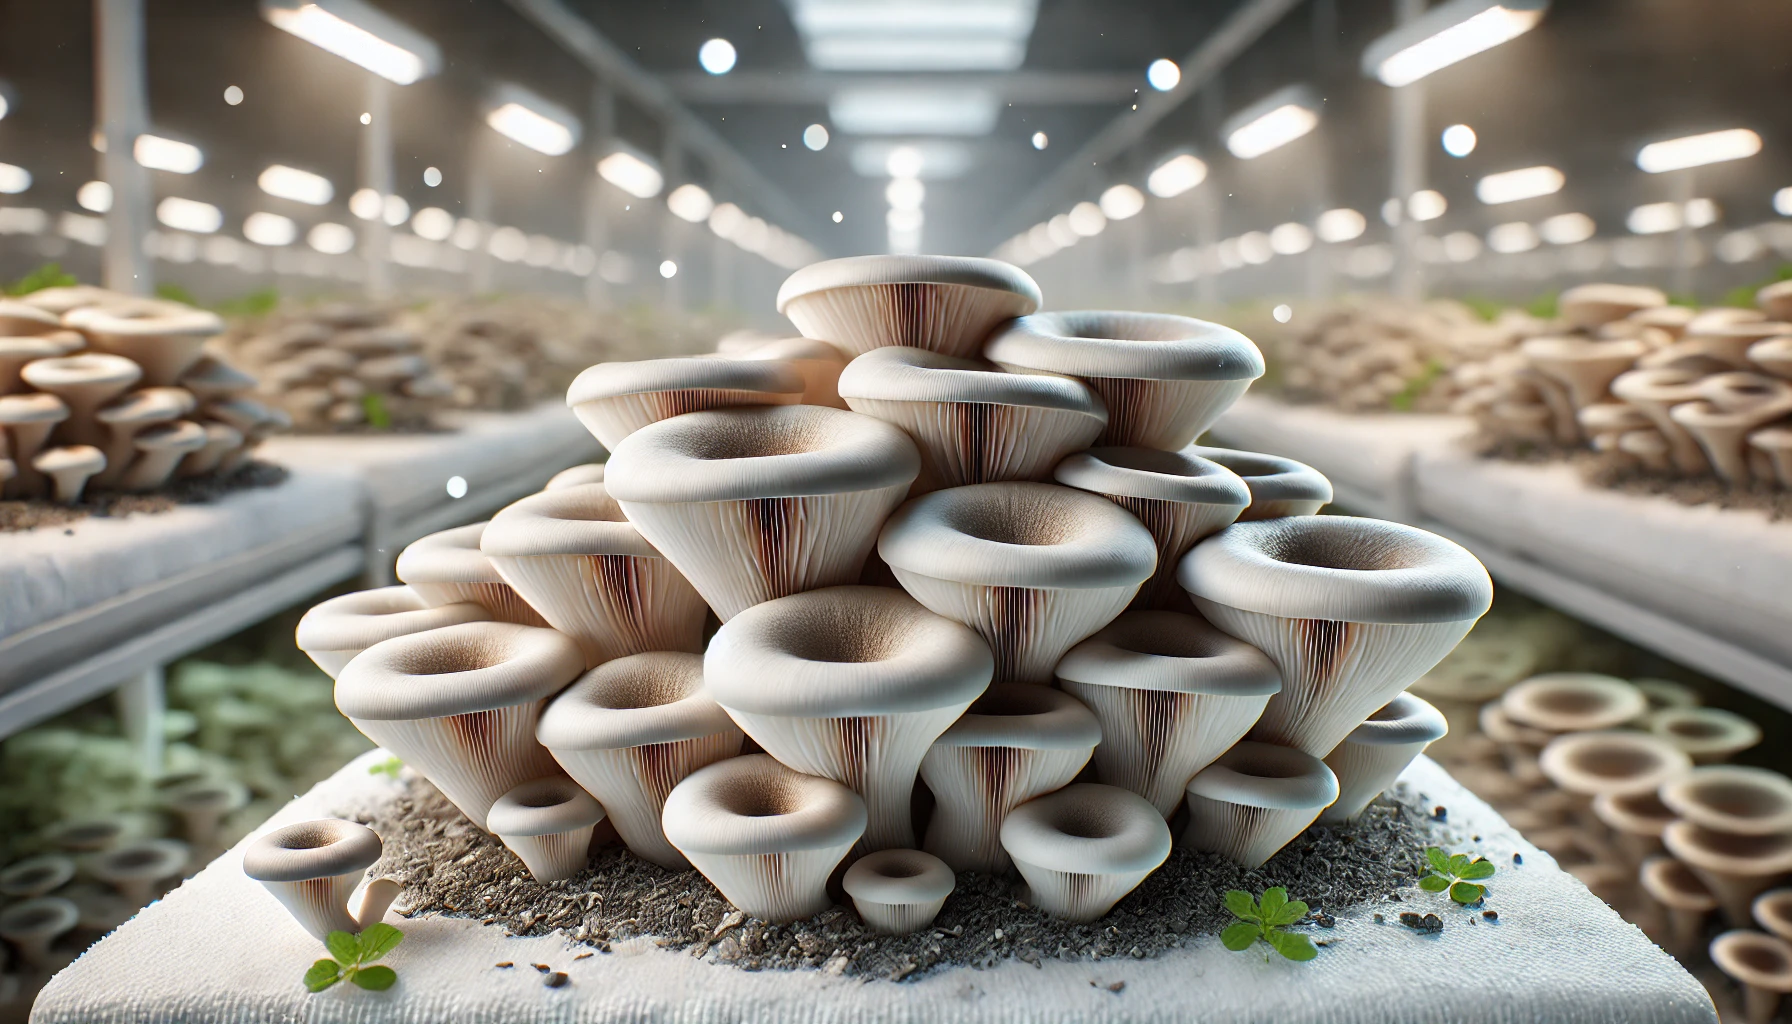
Mushrooms are a fun and quick crop to grow, and with just a little preparation, you can have homegrown, fresh mushrooms in just about a month. Growing mushrooms at home can be easy and affordable if you use the right equipment and techniques. Here’s how you can grow your own mushrooms in just 30 days.
What You’ll Need
- Plastic Buckets (1 gallon/5 liters): These will be your mushroom growing containers. You can reuse old containers from restaurants or find cheap ones at your local store.
- Straw: This will serve as the growing medium for your mushrooms.
- Mushroom Spawn: Grain spawn is a good choice, especially for oyster mushrooms, which are easy to grow and delicious.
- Surgical Tape: This will help seal holes on your container for proper air exchange.
- Pillowcase or Net Bag: For pasteurizing the straw.
- A Clean Work Area: To avoid contamination from outside bacteria.

Step 1: Prepare Your Mushroom Buckets
Start by drilling holes in the plastic buckets. Make sure the holes are about 10-12mm in diameter and spaced a couple of inches apart. You’ll want to drill rows around the side of the bucket (one row near the top and a second row two-thirds of the way down). This will allow the mushrooms to grow through these holes. Don’t forget to drill some smaller holes at the bottom for drainage.
Step 2: Pasteurize Your Straw
Straw is the perfect growing medium for mushrooms, but it needs to be pasteurized to get rid of harmful microorganisms. Place the straw in a pillowcase or net bag and immerse it in hot water (between 140-175ºF or 60-80ºC) for about an hour. After that, let it cool and drain off the excess water. Once it’s cool enough, the straw is ready to be inoculated with mushroom spawn.
Step 3: Inoculate the Straw
Inoculation is the process of adding mushroom spawn to the pasteurized straw. First, sterilize your workspace and tools to avoid contaminating the mushrooms. Mix the spawn and straw in layers inside your bucket—5-10% spawn to 90-95% straw. Once the layers are packed tightly, cover the holes of the bucket with surgical tape to maintain humidity and allow for air exchange. Place the bucket somewhere at room temperature where it’s not exposed to direct sunlight.
Step 4: Watch the Mycelium Grow
After 2-3 weeks, the mushroom mycelium will have colonized the straw, turning it white. You’ll notice tiny mushroom pins forming around the holes. This is an exciting moment because it signals the beginning of mushroom growth! From this point on, the mushrooms will grow rapidly, doubling in size every day.
To support their growth, provide light (but not direct sunlight) and keep the humidity high. Mist the mushrooms twice a day to keep them moist.
Step 5: Harvest Your Mushrooms
Your mushrooms will be ready for harvest in about a month. When the caps have opened up but haven’t flattened out, it’s time to harvest. To do so, twist and pull the mushrooms off, being careful not to damage the mycelium-covered straw inside the bucket. Continue to harvest as the mushrooms mature—each cluster may ripen at different times.
Step 6: Get a Second Flush
If you keep the humidity up and the environment favorable, you can often get a second or even third crop of mushrooms. Simply maintain the same care and watch as the next batch grows. Once the straw is spent, you can use it to inoculate new batches and continue the mushroom-growing cycle.
With these simple steps, you can enjoy your own homegrown mushrooms in just 30 days!
4o mini
